After making the two-in-one pouches mentioned recently I realised that I felt completely confident to make any style of zipper pouch on my own. Consequently I have been making quite a few and was asked if I could share a tutorial on what works for me. There are a TON of photos but I wanted everything to be clear.
Materials:
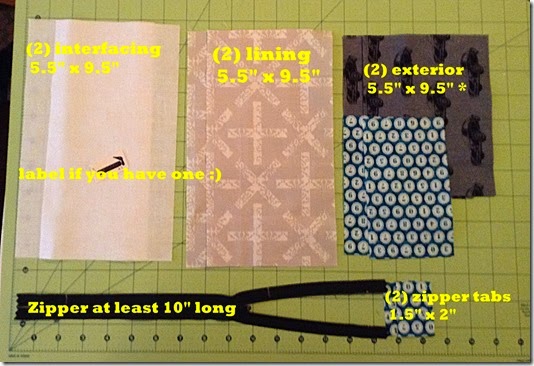
(2) *Exterior fabric that will measure 5.5” x 9.5” (this can be one piece or patchwork, up to you, but cut it to 5.5” x 9.5” before proceeding.
(2) Lining fabric measuring 5.5” x 9.5”
(2) Lightweight fusible interfacing (Pellon SF101) measuring 5.5” x 9.5”
(2) Zipper tab ends measuring 1.5” x 2”
(1) Nylon zipper measuring no smaller than 10”
(1) label if you use them
Basting glue of some sort (Elmer’s school glue works) with a fine tip (not pictured)

This picture is to show that if you are piecing the exterior together and want to cars to be on the right side of the pouch no matter which way it is facing, then you have to put the pieces together opposite from each other.
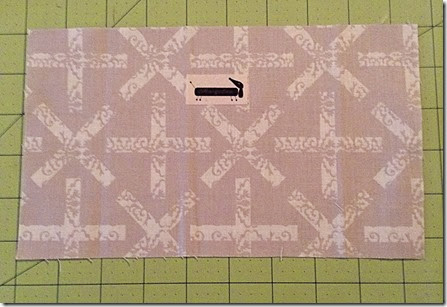
Apply your label to one of the inside pieces if you wish.
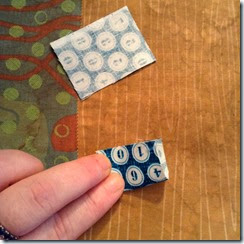
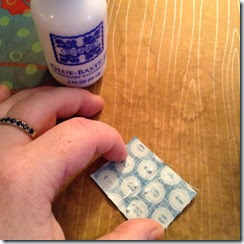

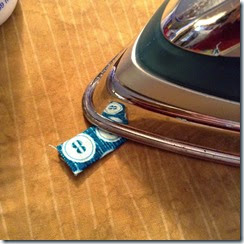
Take your zipper ends and fold in half with the short ends together. Apply two small lines of glue close to the middle and fold the ends into the middle. Iron to set the glue.

Take your zipper and mark at Zero and at 8.5” anywhere as long as both marks are inside of the manufacturer’s stop ends. You can make your pouch any size as long as your zipper ends up being 1 inch shorter than the length of your pouch.
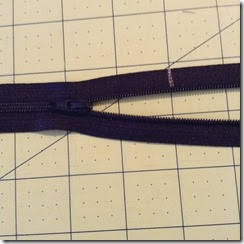
Open your zipper at this point past the first line.
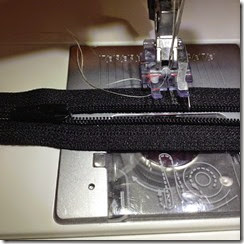
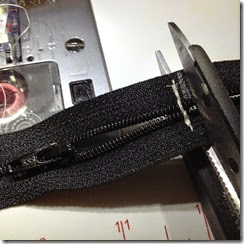
Carefully sew across the zipper 1/8” towards to middle from your first line. Cut your extra off on the line. (See why moving the zipper pull is so important? A huge pain if you forget lol)
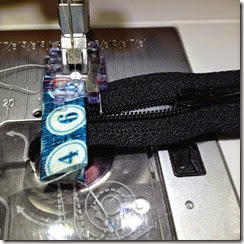
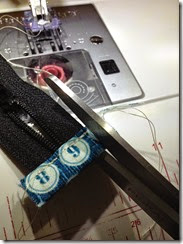

Slide the end into the zipper tab and stitch 1/8” along the bottom edge. Carefully trim the ends even with the zipper. Repeat for the other side and your zipper should be looking like this.
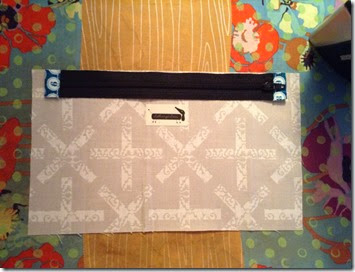
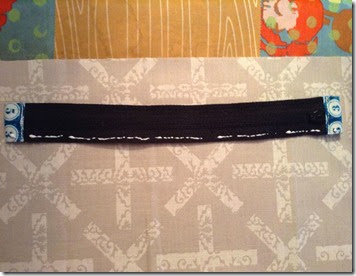
Place your lining face up and lay your zipper face up on top with the pull on the right hand side. Roll the zipper towards you so that you are looking at the wrong side and apply a line of glue to the long side closest to you.
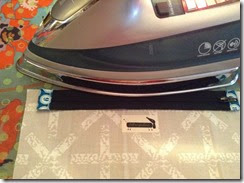
Put the zipper back on the top of the lining and carefully run your iron along the edge to seal.
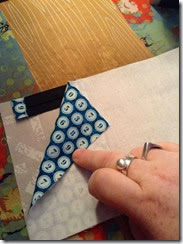
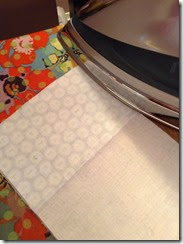
Run a long line of glue along the top of the lining/zipper piece and lay your exterior piece right side down. Carefully iron the edge to set the glue.

As you see here I am not using a zipper foot, only my 1/4” foot. Simply place the glued edge under the foot and sew with a 1/4” seam. When you get to the end keep your needle down and raise your presser foot. Carefully wiggle the zipper pull back down to where you have already sewn. As long as your needle is down you should have no problem. I took some pictures later on to try and explain.
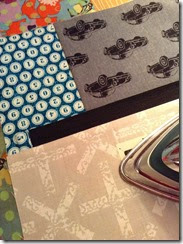
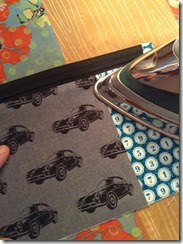
Carefully iron both your lining and your exterior away from the zipper to prepare for topstitching.
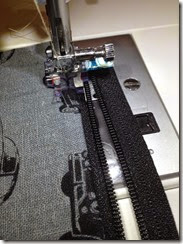
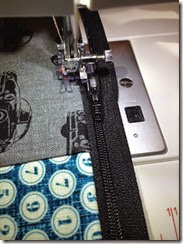
Have your zipper pull in the middle and start topstitching about 1/8” down from the fold. Stop with needle down when you get to the zipper pull.
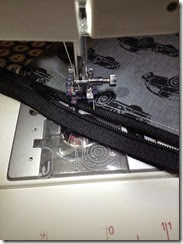
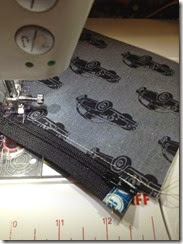

Lift up your presser foot and maneuver the zipper pull back along the sewn edge, sometimes swinging the fabric around helps, the needle down ensures that you won’t skip any stitches. Lower your presser foot and finish top stitching.
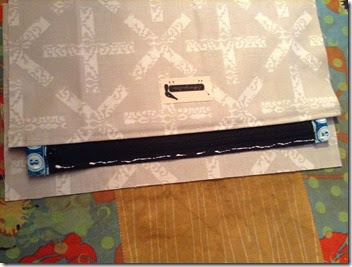
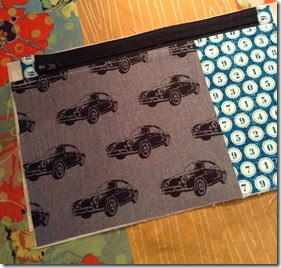
Place a line of glue along the raw edge on the wrong side of the zipper and line your zipper edge with the top edge of the second piece of lining.
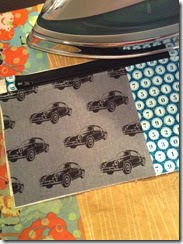
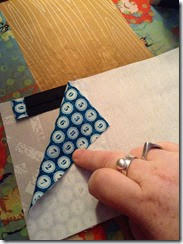
Iron down the zipper, and do another long line of glue along the top. Place your exterior piece on top and iron to seal it.
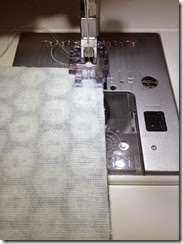
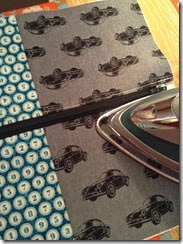
Once again use your 1/4” foot to sew along the 1/4” seam, maneuvering the zipper pull as required. Iron away from the zipper and topstitch down that side. NOW OPEN YOUR ZIPPER HALF WAY! (That was important in case you couldn’t tell lol)
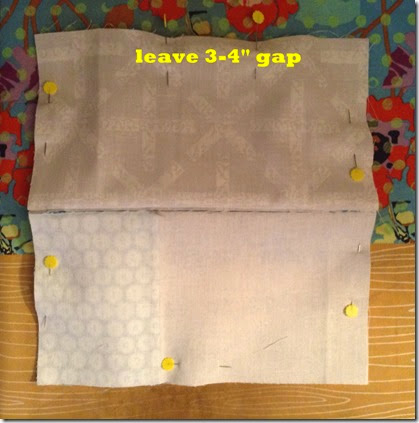

Pin the lining to lining right sides together with a 3-4”
gap, and pin the exterior to exterior sides together, no gap. Make sure that the seam faces the lining side. Sew all around, backstitching at the beginning and end of the gap. I am still using just my 1/4” foot here. It gets a little tricky when you reach the middle, but just go slowly and it will work. I always backstitch 1-3 stitches at the end and beginning of each corner to ensure its strength when I am poking corners out later.
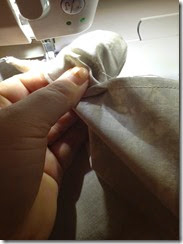
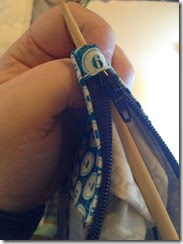
Turn the pouch inside out through the gap left in the lining and use a chopstick to make your corners sharp and to make your zipper tabs look good.
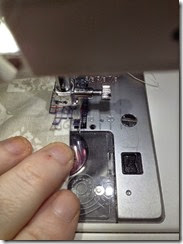
Sew the gap closed.
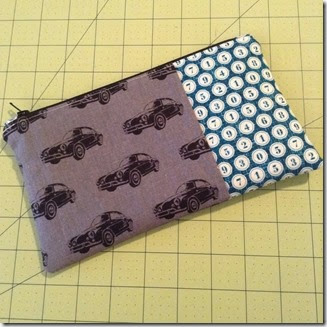
Give it one last ironing and voila, your pouch is done! If you have any questions, ask away :) I hope this works for you!
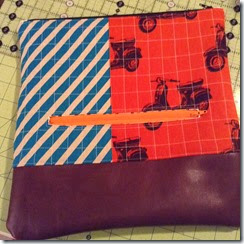


 This picture is to show that if you are piecing the exterior together and want to cars to be on the right side of the pouch no matter which way it is facing, then you have to put the pieces together opposite from each other.
  Apply your label to one of the inside pieces if you wish.


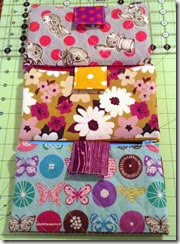 The pattern is the Two In One Pouch and you can read about it here. I highly recommend it!
  I added some inside slip pockets to mine.
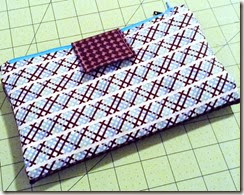 And one last gorgeous one made from my favourite fabric line, Hadley!

 These have been fun to make and I am hoping to add one or two more. They are only $1.50 and are an easy project so I would love to see if you make one!